
Stop Bleeding in Survival Situations: The RN's Survival Guide to Controlling bleeding
Learn essential techniques to stop bleeding in survival situations with step-by-step instructions on wound care, tourniquet use, and first aid in the wilderness.
FIRST AID
As an Amazon Associate, I earn from qualifying purchases. This means I may earn a commission if you click on an affiliate link and make a purchase, at no extra cost to you.


Hеmp Gummies for Deep and Healthy Bеdtime - Ensure the Peace of Body - Assorted Fruit Flavors - Hеmp Oil Infused Gummy Vitamins - Made in USA


Four Sigmatic Boost Organic High Caffeine Coffee | Dark Roast Extra Strong Ground Coffee with L-Theanine & Cordyceps Mushroom Extract | Energy Booster Super Coffee without the Jitters | 12oz Bag


Mushroom Coffee – Ground Dark Roast Organic Lions Mane Coffee for Super Human Focus, Memory & Concentration – High Caffeine Arabica Brain Booster – Strong Nootropic Energy for Peak Performance
Disclaimer
Before we dive into this guide: If you're in a life-threatening emergency and 911 is available, don't try to play hero—call them immediately. However, if the world has gone completely sideways and 911 is no longer an option, or you're in a remote area without help on the horizon, this guide is here to help you make the best of a bad situation. Always prioritize professional medical care when it’s accessible!
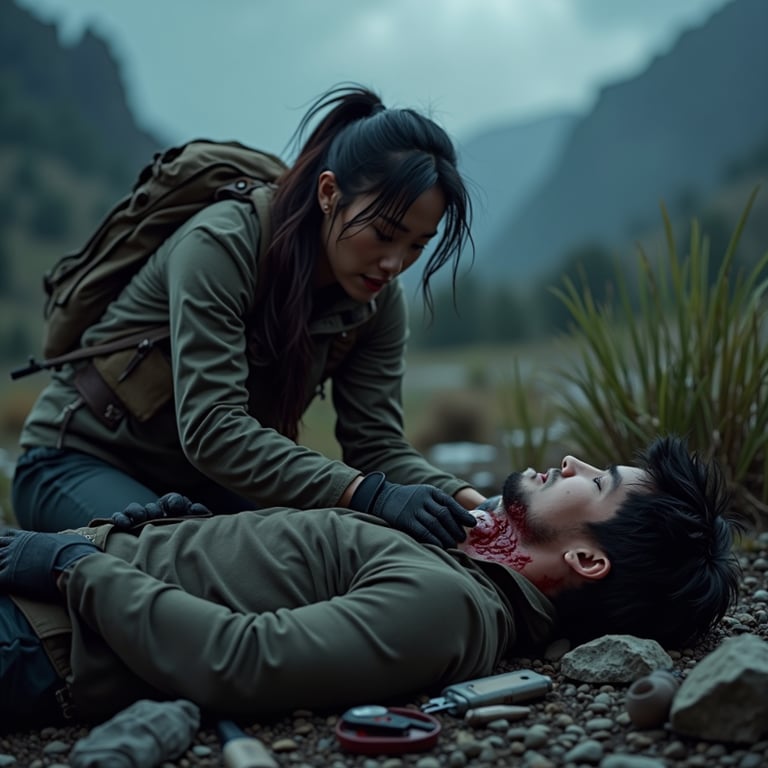
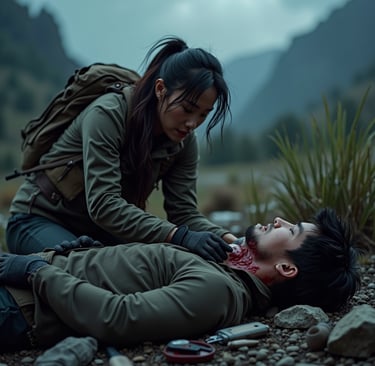
Severe bleeding is a common killer in survival scenarios, and the solution isn’t just slapping on a bandage and hoping for the best. As an RN with 17 years in the operating room, I can assure you: hope doesn’t stop a femoral artery from gushing. Let’s get into the nitty-gritty of how to actually keep someone alive.
Step 1: Identify the Source (aka Find the Fountain of Doom)
Before you can plug the leak, you’ve got to find it. Massive bleeding is often obvious, but in high-stress situations, it’s easy to miss hidden wounds. Strip away clothing near the injury and assess.
What you’re looking for:
Spurting blood (arterial) vs. oozing blood (venous).
Depth and size of the wound.
Pro Tip: Blood doesn’t stop gushing because you’re panicking. Breathe, focus, and prioritize pressure.
Step 2: Apply Direct Pressure (No Wimpy Hands Allowed)
You’ve got seconds to act. Grab whatever you’ve got—gauze, a shirt, or even a sock—and press down hard. Direct pressure is your best friend in the first few moments.
Why it works: Pressure slows blood flow, giving clots a chance to form.
The technique:
Stack clean materials if you have them.
Press with your palms and lean in with your weight.
If the wound is deep, stuff it with cloth or gauze before applying pressure.
Snarky Note: If you think “gentle” pressure will do the trick, congrats, you’ve just invented murder.
Step 3: Elevate and Isolate
Lift the injured area above the heart—if that’s physically possible. Elevation reduces blood flow to the wound.
How to do it:
Prop the limb on a rock, backpack, or your lap.
Make sure they stay still. Movement disrupts clot formation.
This is where you pray the person hasn’t injured their spine or any major bones. Otherwise, skip to Step 4.
Step 4: Tourniquet Time (Go Full MacGyver)
When direct pressure fails, it’s time to break out the big guns: a tourniquet. You might’ve heard old-school myths that tourniquets cause limb loss. Ignore them. In a survival situation, stopping the bleed is more important.
How to Make One:
Use a wide strip of material (belt, scarf, or paracord).
Wrap it 2-3 inches above the wound (never on a joint).
Twist the material with a stick or similar object until the bleeding stops.
Key Rules:
Write down the time you applied it.
Never loosen it without professional help; it’s a one-way ticket to clot disruption and shock.
Step 5: Pack the Wound Like a Pro
For wounds that aren’t tourniquet-friendly (like torso injuries), you’ll need to pack the wound.
How to Pack:
Fill the cavity completely with cloth, gauze, or even moss if nothing else is available.
Apply constant, firm pressure directly onto the packing material.
Wrap the wound with additional fabric to keep the pressure on.
Nurse Wisdom: A properly packed wound feels gross but saves lives. Don’t skimp on material—you’re not folding laundry here.
Step 6: Treat for Shock
Even if the bleeding stops, blood loss can trigger shock. Here’s how to keep them stable:
Signs of Shock:
Pale, clammy skin.
Rapid pulse and shallow breathing.
Confusion or unconsciousness.
What to Do:
Lay them flat.
Elevate their legs (unless there’s a suspected spinal injury).
Keep them warm using clothing or blankets.
Step 7: Improvise Like a Survivalist
You’re not in a sterile OR, but that doesn’t mean you can’t make do with what’s around you:
For Pressure Tools: Use bandanas, plastic bags, or even your bare hands.
For Tourniquets: Avoid stretchy materials like shoelaces; they don’t generate enough pressure.
For Packing: Tampons, diapers, or any absorbent material will do.
Final Words from the OR
Bleeding control is a game of minutes. The faster you act, the better the outcome. Remember: your goal is to stabilize, not to fix everything perfectly. Once the bleeding stops, focus on getting to professional medical care as quickly as possible.
If this guide saves a life, you owe me a campfire story—or at least a shout-out. Now go forth, brave survivor, and keep that blood inside where it belongs.