How to Tan Leather in a Post-Apocalyptic Setting: A Survival Guide
Learn how to tan leather in a post-apocalyptic setting with this step-by-step survival guide. Master essential skills to prepare for the toughest environments.
SURVIVAL
As an Amazon Associate, I earn from qualifying purchases. This means I may earn a commission if you click on an affiliate link and make a purchase, at no extra cost to you.
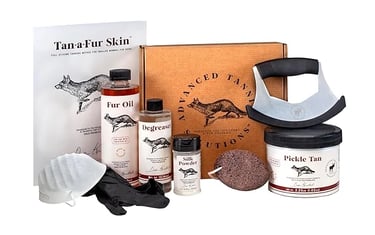
Advanced Tanning Solutions, Tan-a-Fur Skin, Dale Knobloch's Small Mammal Tanning Kit
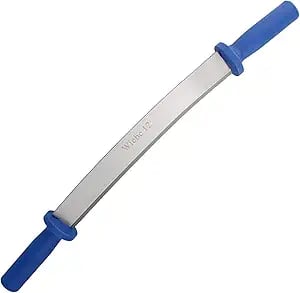

12 Inch Fleshing Knife Hide Tanning Fleshing Tool – Dual Handle Hide Scaping Flesher Tool Leather and Taxidermy Supplies

A Handbook of Native American Herbs: The Pocket Guide to 125 Medicinal Plants and Their Uses (Healing Arts)
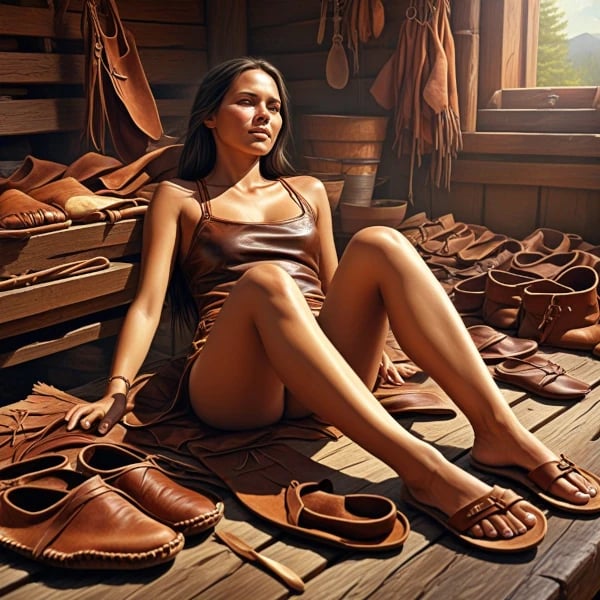
So, you find yourself in a post-apocalyptic wasteland, and suddenly, that rabbit hide isn’t just a trophy—it’s your ticket to waterproof boots, a sturdy bag, or even some makeshift armor. If you want to survive and thrive, knowing how to tan leather and remove hair from hides is a game-changer. Lucky for you, I’ve got the ultimate guide to turning animal skin into usable leather, all without the luxury of modern conveniences. Grab your scrapers, because things are about to get messy… and maybe a little smelly.
Step 1: Get the Hide
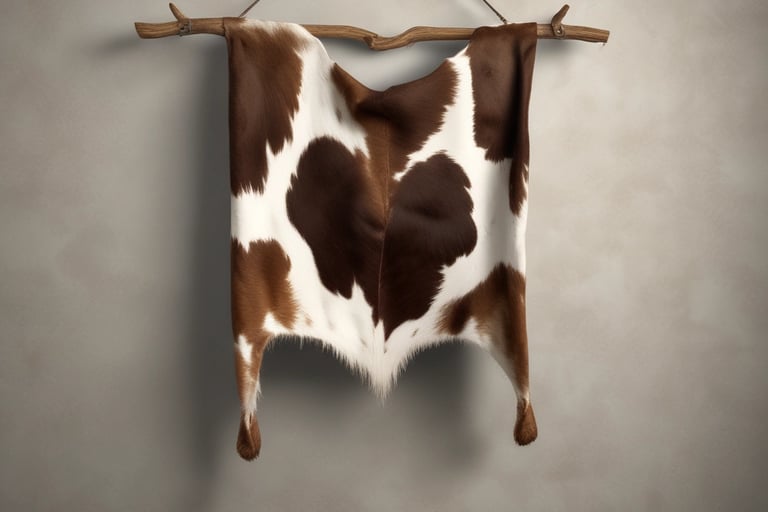
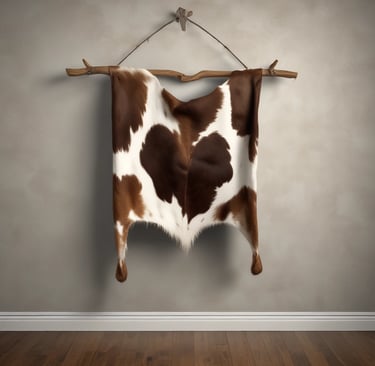
First things first, you need a hide. Whether it’s from a deer, rabbit, or some unlucky critter that crossed your path, it doesn’t matter. Just make sure it’s fresh. A rotting hide isn’t just gross; it’s useless. Skin the animal carefully to avoid unnecessary cuts. You’re aiming for a clean, intact hide. Don’t butcher it like a maniac—this isn’t amateur hour.
Once you’ve got your hide, remove any leftover meat and fat. Use a dull knife or an improvised scraper to get the job done. Be thorough, or you’ll regret it later when your hide starts stinking up the place.
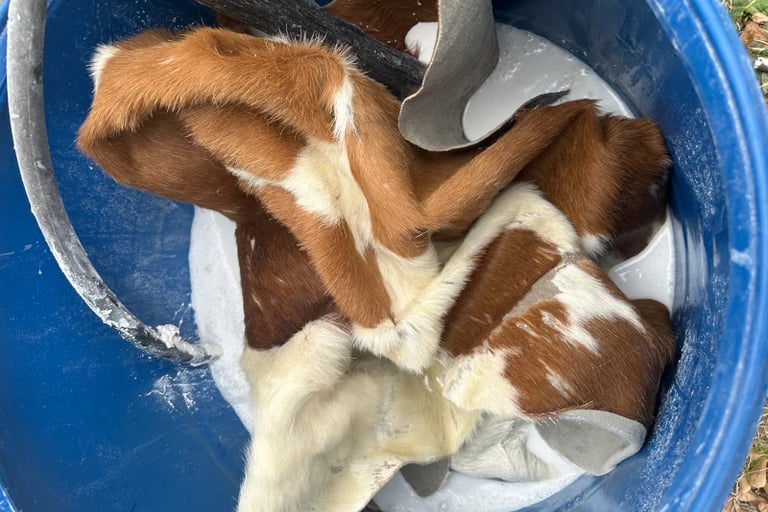
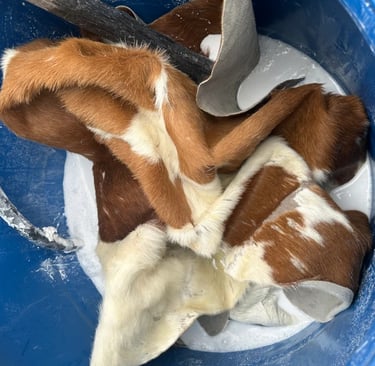
Step 2: Soak It
Time to give your hide a bath. You’ll need a container big enough to hold it—a barrel, a hole in the ground lined with tarp, or even a kiddie pool (if those still exist in your apocalypse). Fill it with water and submerge the hide. Let it soak for a couple of days to loosen things up. Stir it occasionally if you’re feeling ambitious. If you’re short on clean water, rainwater or creek water will do. Just know it’ll take longer.
Pro tip: If the hide starts to smell like death, you’ve waited too long. Pull it out before it turns into zombie leather.
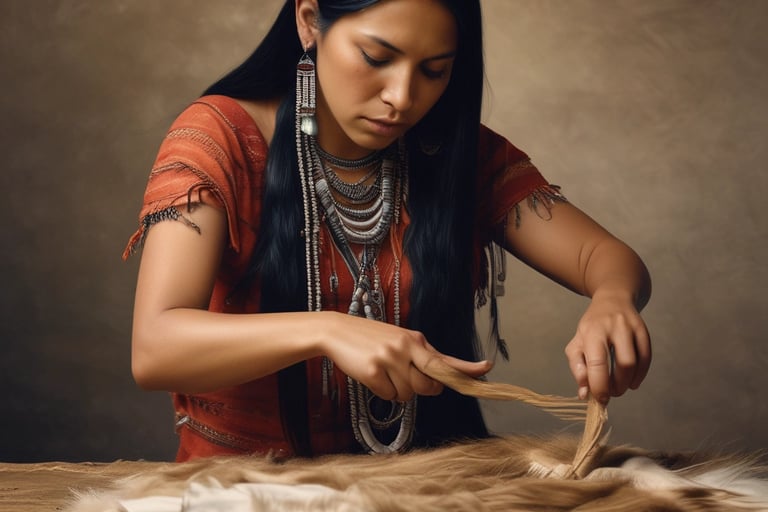
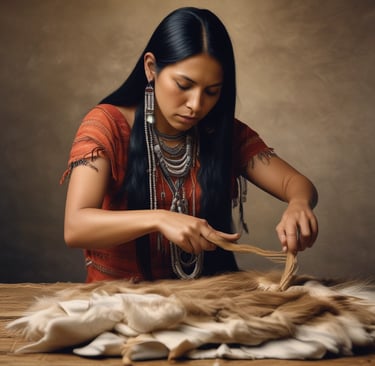
Step 3: Remove the Hair
Now comes the fun part. You’re going to make a dehairing solution using wood ash or lime. Mix it with water until it’s a slurry—thick enough to coat the hide but not so thick that you’re basically making mud pies. Dunk the hide into this concoction and let it sit for a few days. Test it by tugging on the hair. If it slides off like a bad toupee, you’re good to go.
Lay the hide on a flat surface or stretch it on a frame. Use your scraper to remove the hair and grain layer. Be gentle but firm; you’re aiming for clean, smooth skin. If you mess this up, you’ll end up with a patchy mess that’s about as useful as wet tissue paper.
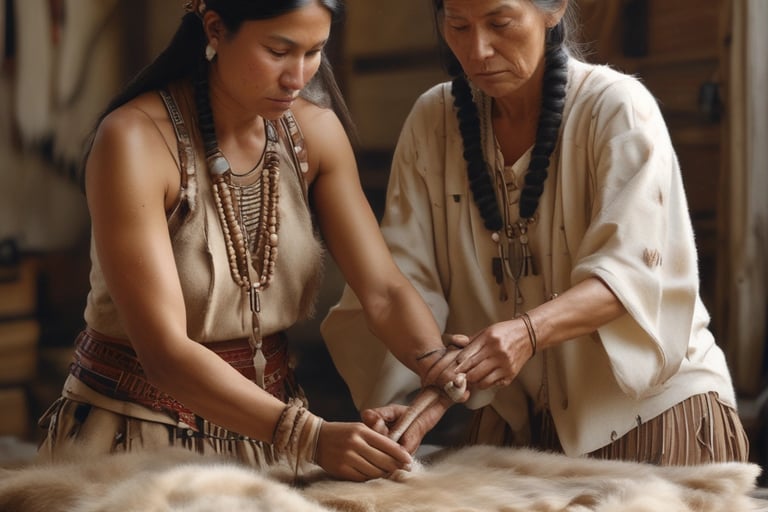
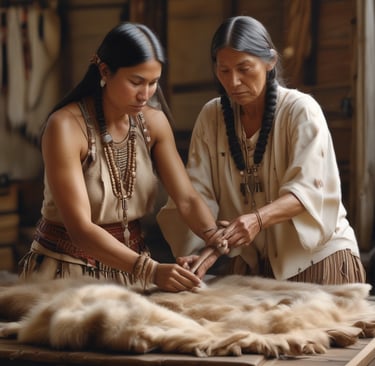
Step 4: Brain Tanning (Yes, Really)
Every animal has enough brain matter to tan its own hide—nature’s weird little gift. If you’ve got access to the animal’s brain, mash it up and mix it with warm water. If not, you can substitute with animal fat or even egg yolks. Desperate times call for desperate measures.
Rub the brain mixture all over the hide. Massage it in like you’re giving it the spa treatment of a lifetime. The oils in the mixture will help soften the fibers and make the leather pliable. Once it’s thoroughly coated, fold the hide in half (gooey side in) and let it sit for a few hours to soak up all that brainy goodness.
Step 5: Stretch It
This step is where you turn a floppy hide into something usable. Stretch the hide onto a frame or secure it between ropes. Keep pulling and working it as it dries. This is a workout, not a spectator sport. If you let the hide sit without stretching, it’ll turn stiff, and you’ll end up with something closer to cardboard than leather.
The goal is to get the hide soft and flexible. Don’t skimp on this step unless you want leather that’s about as comfortable as wearing a sheet of plywood.
Step 6: Smoking for Preservation
To make your leather durable and water-resistant, you’ll need to smoke it. Dig a pit or rig up some kind of smoking setup. Suspend the hide above a smoldering fire. Use damp wood, punky wood, or rotten logs to create thick smoke. You’re not cooking the hide; you’re infusing it with preservative magic.
Let it smoke for several hours. Flip it occasionally to ensure even coverage. When it’s done, your leather will have a rich, smoky smell and a golden-brown hue. Plus, it’ll resist water and last much longer.
Common Mistakes to Avoid
Skipping the scraping: Leftover meat or fat will rot, ruining your leather.
Rushing the soak: If the hair doesn’t come off easily, give it more time.
Not stretching enough: Stiff leather is a nightmare to work with.
Over-smoking: Don’t torch the hide. Keep the fire low and smoky.
Ignoring the smell: If it smells like death, it’s probably not salvageable.
FAQs
Can I use salt instead of soaking the hide? Salt can preserve the hide temporarily but doesn’t help with hair removal.
What if I don’t have brains? Substitute with animal fat or egg yolks. The key is the oils.
How long does the whole process take? Anywhere from a week to two weeks, depending on conditions.
What if the hide tears? Smaller tears can be stitched up later. Be gentle during scraping and stretching.
Can I skip the smoking step? Smoking adds durability and water resistance. Skip it at your own risk.
How do I store unused hides? Dry them thoroughly or salt them to prevent rot.
What’s the best animal for leather? Deer and elk are ideal, but you can use almost any animal.
How do I make the leather waterproof? Smoking helps, but you can also apply animal fat or beeswax as a sealant.
Can I reuse the brain mixture? No. Always make a fresh batch.
Why is my leather stiff? You didn’t stretch it enough. Work it more next time.
Can I use fire to speed up drying? No. High heat will ruin the hide.
How do I deal with flies and bugs? Keep the hide covered or work in a smoky area.
What’s the best scraper? A dull knife works, but a purpose-made scraper is better.
Can I tan multiple hides at once? Yes, but it’s more labor-intensive.
What’s the shelf life of tanned leather? Properly stored leather can last for decades.
How do I know if the hide is ruined? If it smells like decay or falls apart, it’s done for.
Can I use this process for fur-on hides? No, this is for hair removal. Fur-on tanning requires a different method.
What if I don’t have lime or ash? You can try soaking the hide in water for longer, but it’ll take more time and effort.
How do I make soft leather? Stretch it constantly during the drying process.
Can I dye the leather? Yes, but you’ll need natural dyes like plant extracts or soot in the apocalypse.
Now you’re armed with everything you need to turn rawhide into durable, apocalypse-ready leather. Get to work, and don’t forget—practice makes perfect. Or at least less terrible.
If you like this blog article, you'll freaking think these are the cat's pajamas:
The Art of Catching Honeybee Swarms: A Beekeeper’s Guide to Success | Warhammer Blades
Top 10 Essential Survival Tips for Any Situation | Warhammer Blades
Top 10 Essential Survival Tips for Any Situation | Warhammer Blades
The Ultimate Camping Gear Checklist for Your Next Outdoor Adventure | Warhammer Blades